


SETTING UP PUBLICATION EDITING SOFTWARE
Setting up publication editing software for printing for Keskeny Printing House.
Please download the compressed file containing the configuration files: KeskenyCCPresets.zip. Unzip the compressed file.
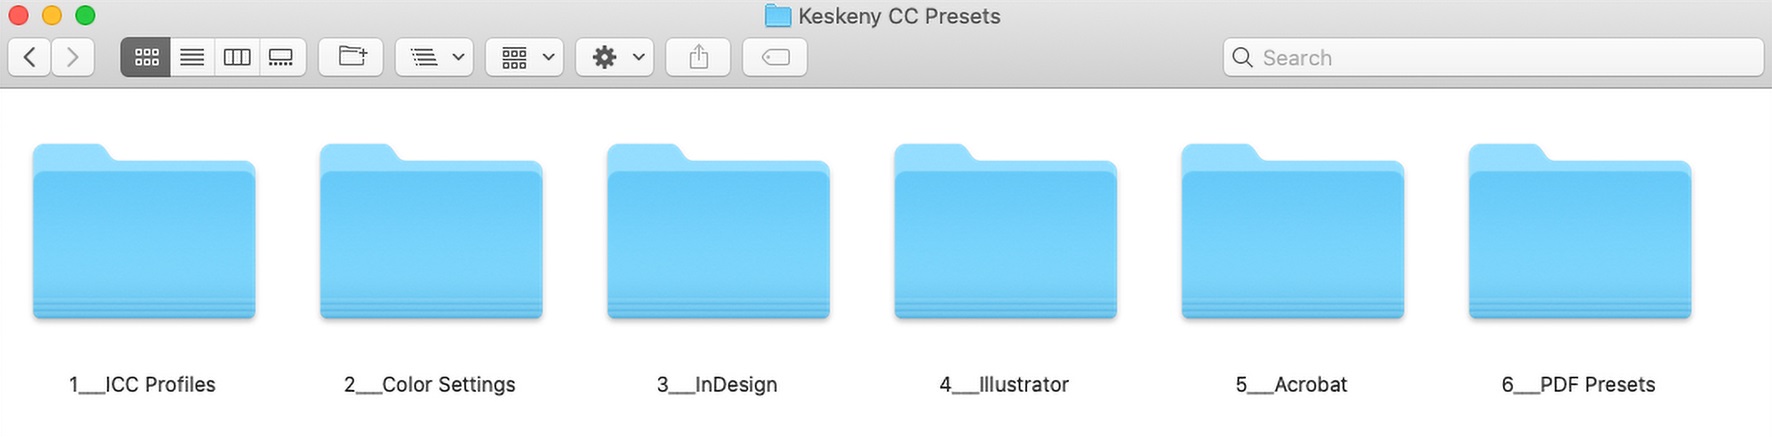
To make the settings described below, please also install the ICC profiles in the “ICC profiles” folder as a first step.
Warning!
Always save the current settings if you need them later. After the settings suggested in the description, a dialog box (or boxes) may appear when opening previously saved jobs, if a different setting is made. Improper adjustment of these windows can result in color changes and poor print quality.
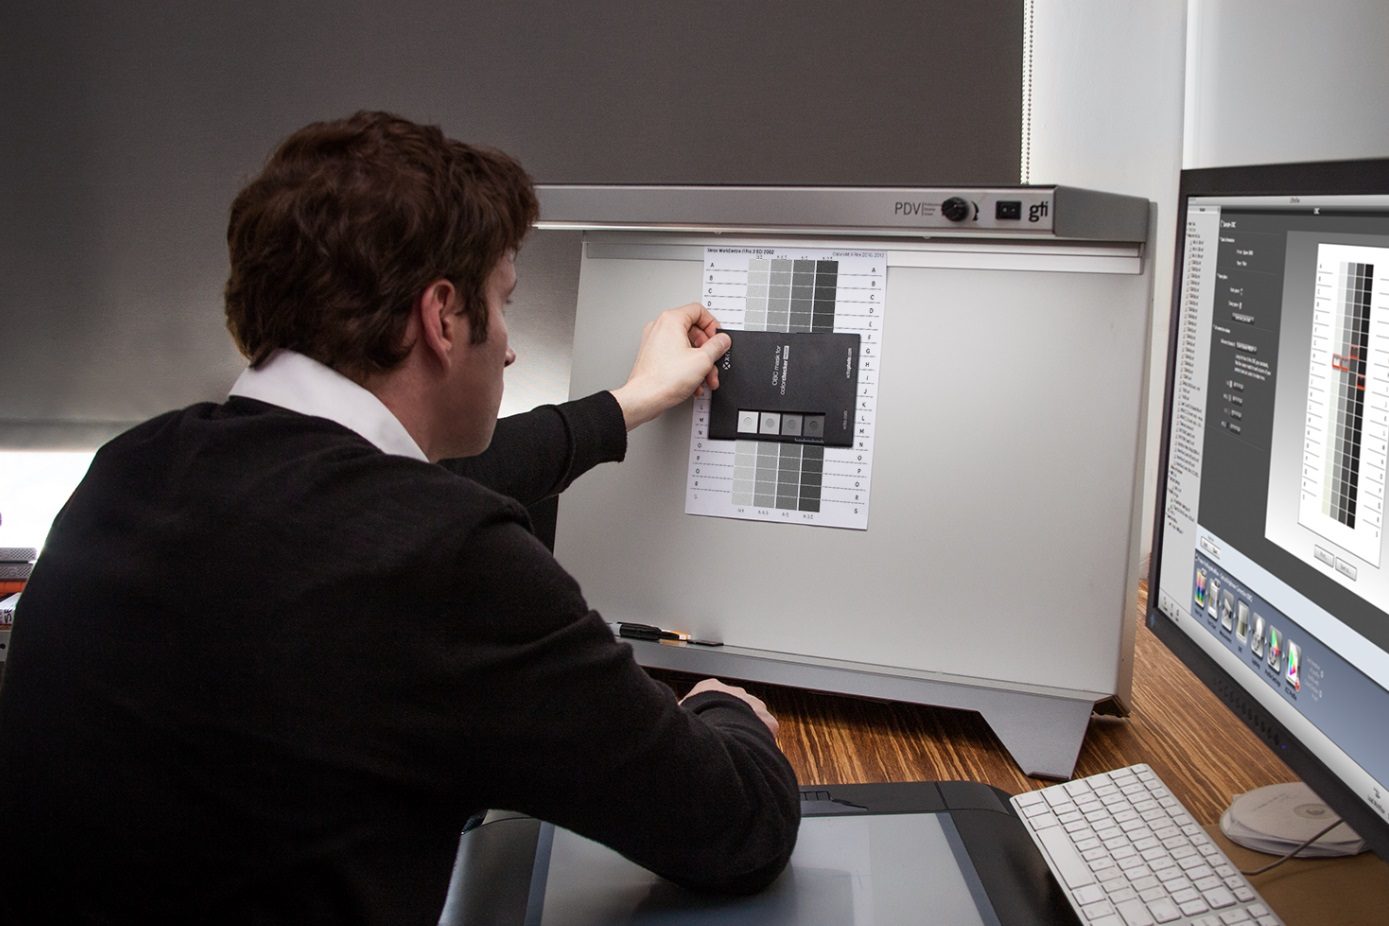
Conscious color management
Professional publishing requires that you perform critical color adjustments on a regularly calibrated large gamut professional color monitor. It is also important to use an ISO 13655:2009 compliant D50 illumination for examining contract proofs and final prints.
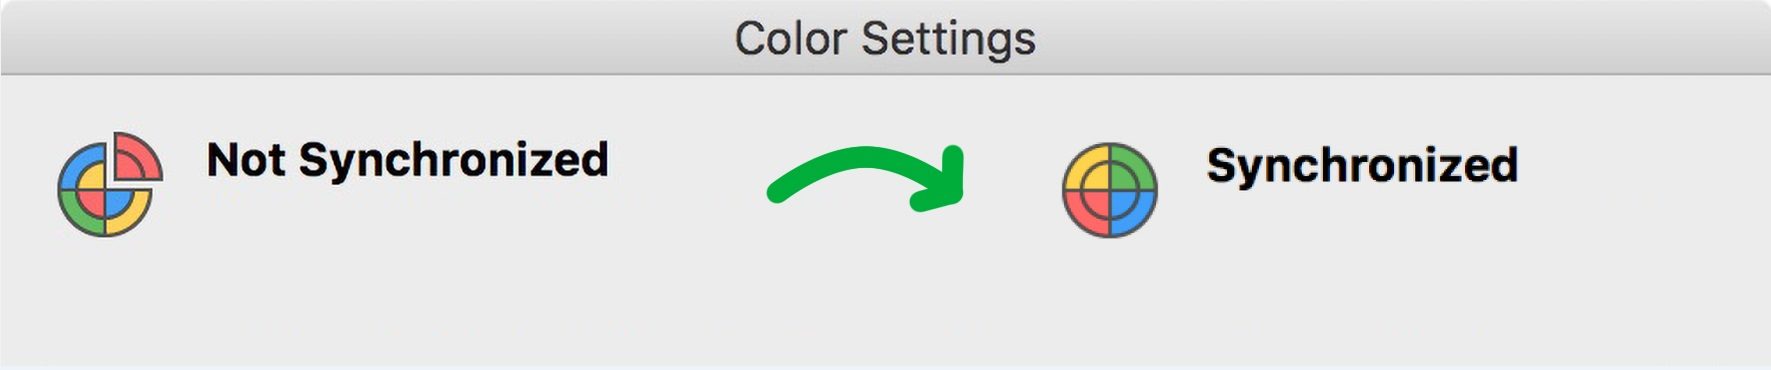
Synchronize color settings with Adobe Bridge
Copy the settings files from the downloaded „2_Color Settings” folder to the following folder:
- For Windows: Users\%username%\AppData\Roaming\Adobe\Color\Settings
- For MacOS: %MacintoshHD%/Users/%User%/Library/Application Support/Adobe/Color/Settings or %MacintoshHD%/Library/Application Support/Adobe/Color/Settings.
For Windows, the Color Setting files (.csf) are located in a hidden folder. To access the hidden folder, follow the instructions below: https://helpx.adobe.com/en/x-productkb/global/show-hidden-files-folders-extensions.html
For MacOS, you’ll have to enter the administrator password.
If you do not want to make hidden folders visible, load the .csf file into Photoshop as described in the next section, and then reopen Bridge’s color settings, where they can be selected.
Start Adobe Bridge and click Creative Suite Color Settings… on the Edit menu. From the list that appears, locate the settings you just copied, select the one that matches your job (coated or uncoated media), and then click Apply.
In this way, Adobe Bridge synchronizes the color profile settings of all Adobe graphics softwares (Illustrator, InDesign, Photoshop, etc.).
Color settings in Adobe CC softwares
If you don’t use Adobe Bridge, you’ll need to set up your graphics applications separately. This is the same for Photoshop, InDesign, and Illustrator.
In Adobe Photoshop, choose Edit menu > Color Settings.
Click the Load… button and load both settings one by one from the downloaded “2_Color Settings” folder. Modify the RGB profile as needed if you use a different color profile on a regular basis. You can also change the display of alerts in the Color Management Policies options. Save both settings by clicking the Save… button in the following folder so that they are available to other Adobe CC softwares:
- For Windows: Users\%username%\AppData\Roaming\Adobe\Color\Settings
- For MacOS: %MacintoshHD%/Users/%User%/Library/Application Support/Adobe/Color/Settings or %MacintoshHD%/Library/Application Support/Adobe/Color/Settings.
Different color settings
The settings suggested above change the default settings of said software. If you have used other settings before, a warning window will appear when you open previously created files and offer various options to choose from.
For Adobe Photoshop and Illustrator:
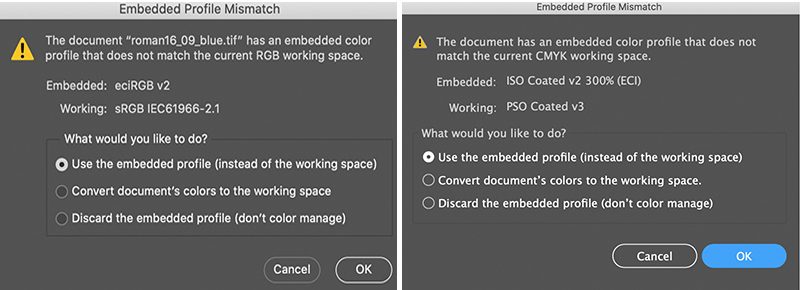
- Use the embedded profile
Select this option if you do not want to change the color space / color profile of the image.
- Convert document’s color to the working space
Select to convert the image to the currently set working color space. The colors of the image are preserved, and the RGB or CMYK values change to suit the working color space.
- Discard the embedded profile (don’t color manage)
This option is useful only if you want to remove the color profile embedded in the document. The colors of the image may change according to the currently set working color space, and the RGB or CMYK values will be retained.
For Adobe InDesign:
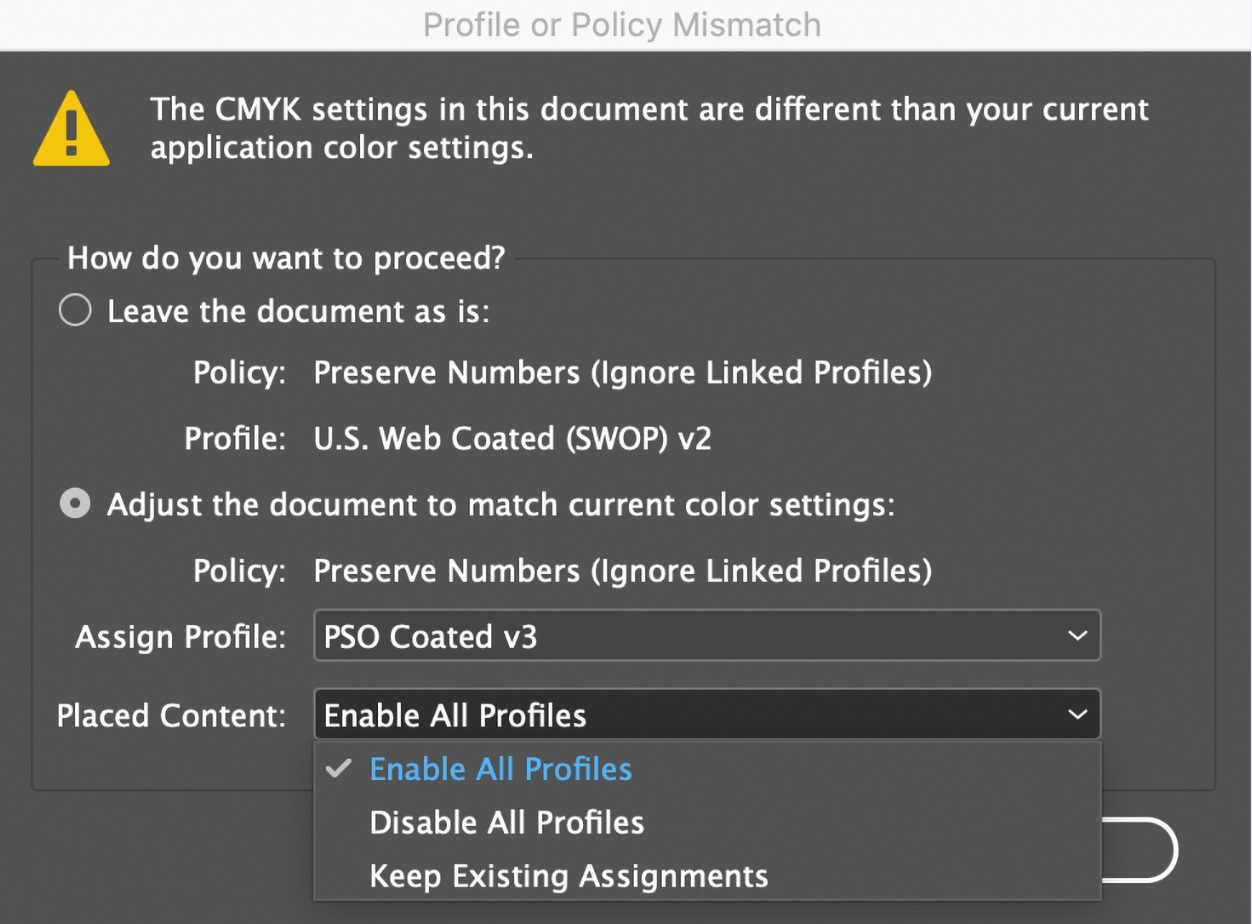
We can get a separate question for RGB and CMYK elements. The options in both cases are:
- Leave the document as is
Select if you do not want to change the color space / color profile of images and vector drawings.
- Adjust the document to match current color settings
Select to change the images and vector elements to the color space selected in the Assign Profile drop-down menu.
The result of the above changes depends on the current structure of the document (the color space of the document and images, and the import method), the Color Management Policies setting in the Color Settings menu, and the Placed Content setting. The number of possible combinations is too large to describe them all in this guide.
Our general recommendation is to start new work with the software set up as described in this guide. When opening jobs saved with other settings, choose to keep the settings and perform the necessary color conversions item by item in native applications. If this is not possible, please be sure to consult with our CTP department – we are able to perform certain conversions with special software, but for this we need to know the original way of creating the incoming file.
Further settings
Adobe Photoshop
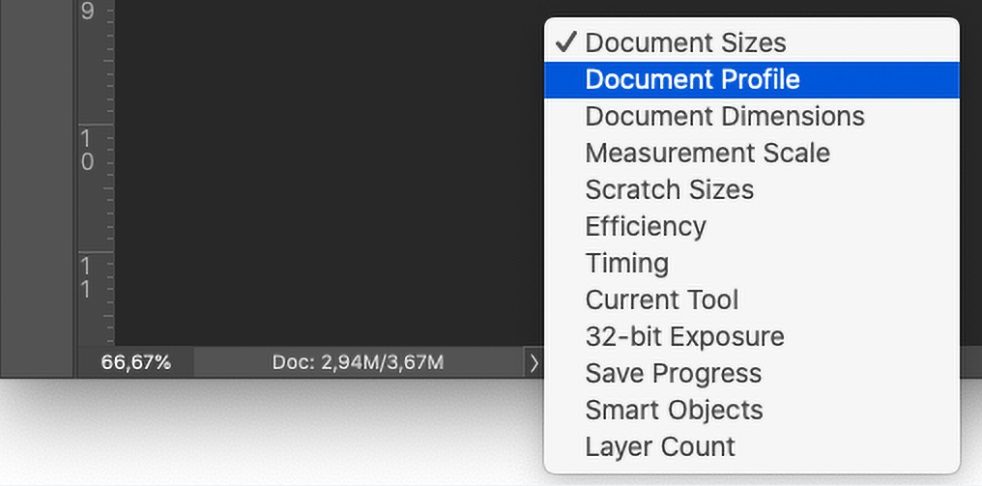
- In the lower left of Photoshop, next to the document size, click on the triangle and select Document Profile from the drop-down menu. Thus, instead of the size of the document, the color profile of the current document is displayed.
- To simulate printing (SoftProof), click View menu > Proof Setup > Custom, select the Simulate Paper Color check box, and then click OK. After setup, Photoshop will simulate the print result if you have a properly calibrated graphics monitor.

- This feature is also available in Adobe InDesign and Adobe Illustrator.
Adobe Illustrator
- For graphics that are being created, the document should always be in CMYK mode. To set this, select File > Document Color Mode > CMYK Color.
- To simulate printing, turn on the Overprint Preview and Proof Colors functions in the View menu after setting it up in the Proof Setup… submenu.
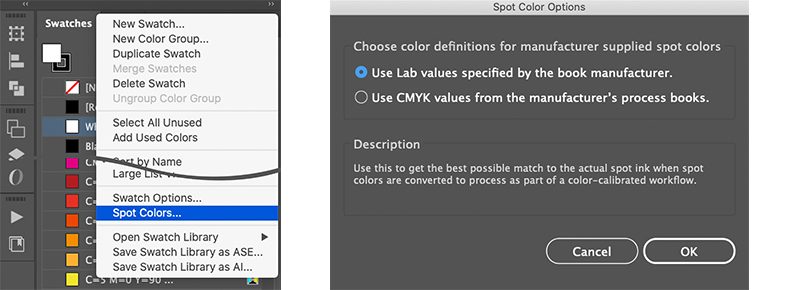
- We recommend the following setting when converting spot colors to CMYK. Select the Window menu > Swatches palette, then click the options menu in the upper-right corner of the window that appears (three horizontal line icons) and select Spot Colors. In the window that appears, select the “Use Lab values specified by the book manufacturer” radio button and close the window with the Ok button.
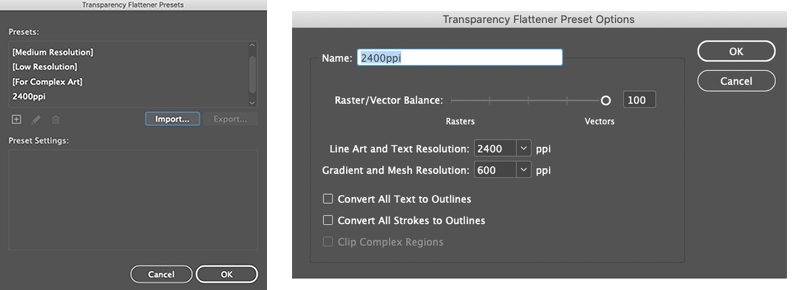
- To set the recommended flattening of transparent elements, click Edit menu > Transparency Flattener Presets and click Import in the window that appears. Load the “2400ppi TransparencyFlattenerPreset” setting from the “4__Illustrator” folder. This setting can be selected in Object > Flatten Transparency before starting work or merging transparent elements.
Adobe InDesign
- To simulate printing, turn on the Overprint Preview and Proof Colors functions in the View menu after setting it in the Proof Setup… submenu.
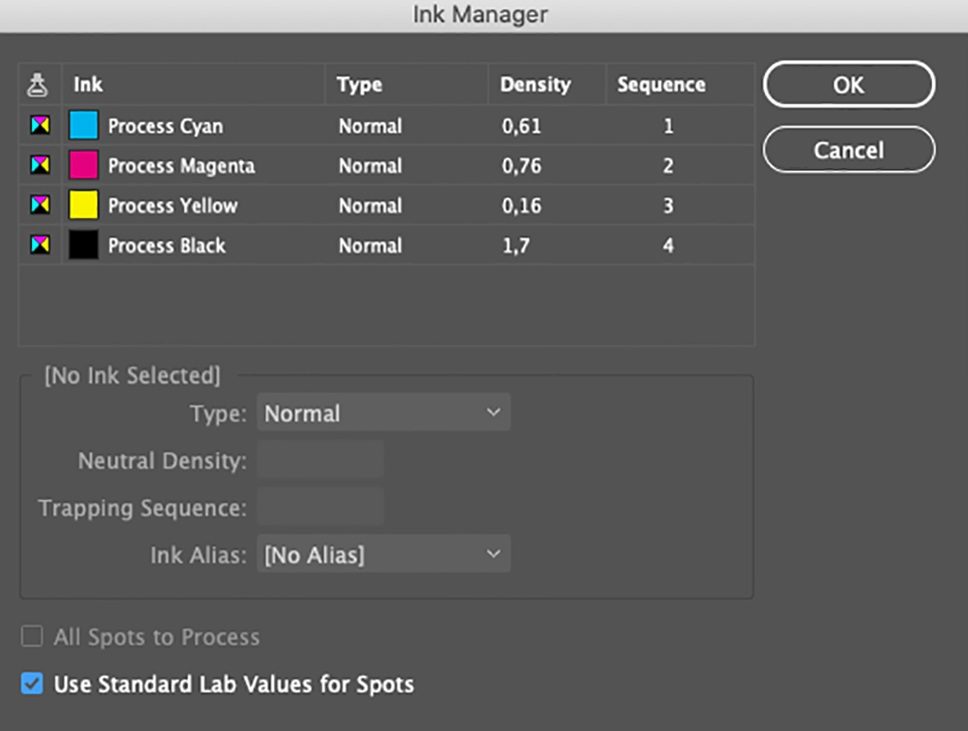
- We recommend the following setting when converting spot colors to CMYK. Click Window > Color > Swatches and then the options in the upper right corner of the window that appears (4 horizontal lines). Select Ink Manager here. Select the “Use Standard Lab Values for Spots” check box at the bottom of the pop-up window and click OK.
- On the Edit menu, click Transparency Blend Space and select Document CMYK. Here, click Transparency Flattener Presets, and then click Load. Select the “2400ppi Flattener Preset” file in the “3__InDesign” folder.
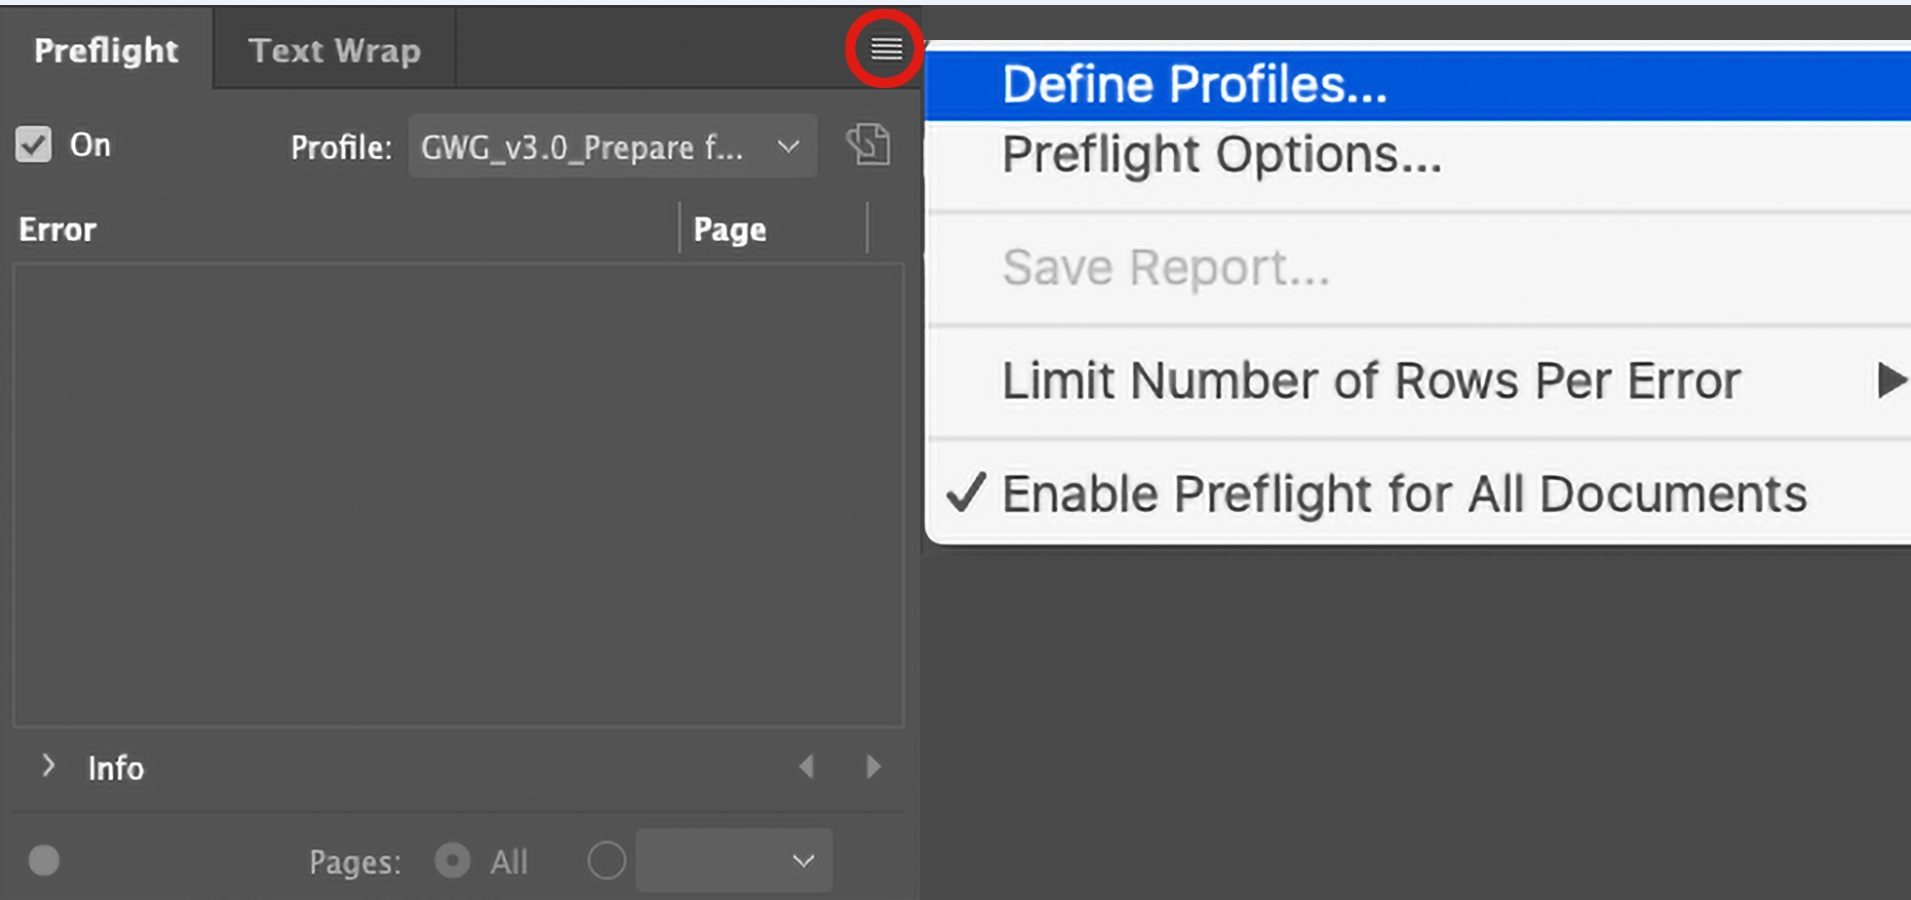
- Select Window menu > Output > Preflight. Click the 4-line icon in the upper-right corner of the Preflight panel that appears, and then click Define Profiles in the menu that appears. In the window that appears, click the 4 line icon and select Load Profile. From the “3___InDesign” folder, load all the files with the .idpp extension one by one. Close the window. When creating a new document or opening an existing one, select the appropriate profile setting from the Profile drop-down menu in the Preflight panel and enable the check box by selecting the On check box. For large documents, scanning can slow down InDesign. This check is not complete – after saving the PDF, the file must be checked with an appropriate software (Acrobat Pro, Callas PDF Toolbox, Enfocus PitStop, etc.).